Creating Instagram-like place selection with SwiftUI

Let’s pretend that you’re writing an app with SwiftUI that will need to provide nearby places with filtering option sorted by distance. Just like one in your Instagram. You think it’s hard? Let’s get our hands dirty and ruin this myth.
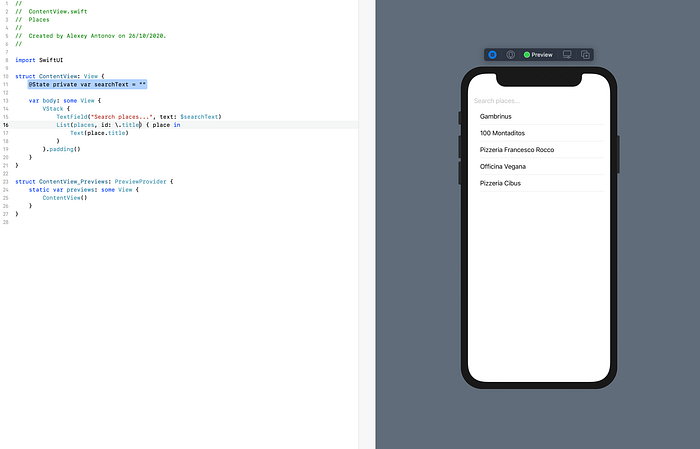
Create a new iOS App that uses SwiftUI and open ContentView.swift:

Get rid of the Text component and add the TextField component. TextField requires two parameters: title (that in other words is a placeholder) and text (that will contain entered text). As text parameter has type of Binding<String>, we should create a variable to store our value first. So, your code should look like the one below:

To be sure that it works, put your TextField component into a VStack and insert after this text field a Text component with a value of searchText variable. Now, when you type into the text field, you will see the result immediately appearing below.

Then, when we made this text field work, let’s dive into some adding. So, first we need to create a model. Go and create a new .swift file (not SwiftUI view!). I named it Place.swift, but it doesn’t matter how you will call it.
In a new file import CoreLocation framework right under import Foundation line. That will be needed for giving coordinates to our places. Let’s begin and create a struct called Place. It will have only two properties: the title of the place (that has String type) and the location of the place (that has CLLocation type). Then, let’s create an array right under the struct and fill it with some places:

Moving back to ContentView.swift file: creating a list of places. For that reason, get rid of the Text component and insert a List component that will contain our places array:

The code was quite correct, but something went wrong. The error occurred because the List component requires the array items needed to confirm to Identifiable protocol. It’s necessary to differ items from each other. But we can make a small ‘hack’ as it’s not our final solution. We will add id: \.title parameter to make the items’ titles identify it. Woo-hoo, now it works:
But honestly we won’t need to show a coordinate, so now we will go back and create another struct called Location below the Place struct. This struct is going to confirm to Identifiable protocol and have title and distance fields:

Thus, when the model is ready, let’s go and create another .swift file. Now it’s a ViewModel that will contain all our CoreLocation stuff. So, we also import CoreLocation under Foundation and create a class called ViewModel. It will be a subclass of NSObject and confirm to protocol ObservableObject.

Next, it’s time to add an instance of CLLocationManager, that will do all the geolocation work. As a result, it will be a private constant as we won’t use it outside our class. And right below it we add an initialiser of the class, when we set up the geolocation stuff:
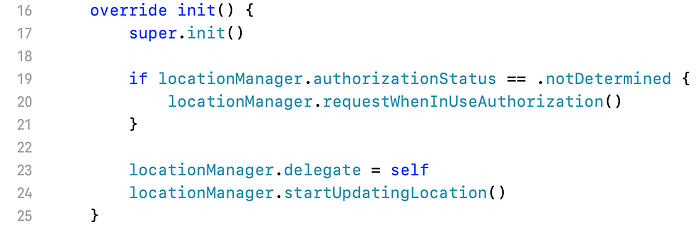
Here, we ask for permission to use the geolocation when app works in a foreground, tell that our class will be a delegate for CLLocationManager and finally start listening for location updates. As we promised that this class will be a delegate for our location manager, let’s write an extension for our class:

We need to implement only one method (just for this small purpose), that is called when the phone updates geolocation. As you could notice before, the distance of our struct Location is Optional, because sometimes the GPS module can’t receive current geolocation (when the user is in subway area or somewhere the location is unavailable). That’s why it’s reasonable to leave it optional. Hence, if we can’t get new geolocation we just exit the function. In case we have location, we clean the array with old distances, sort places according new values and fill the locations array with necessary data. We also want to show the distance in kilometres, so divide the value by 1000.
Now we can see it in our app. Just add our viewModel as an ObservedObject and change the List component to accept viewModel.locations array without any id parameters.
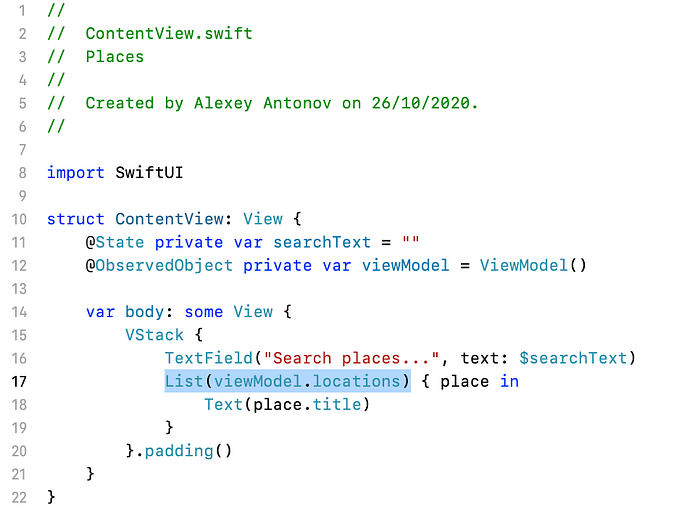
Nevertheless we still can’t filter it by name, so let’s apply filter function to our parameter of List component:
List(viewModel.locations.filter { $0.title.hasPrefix(searchText) })
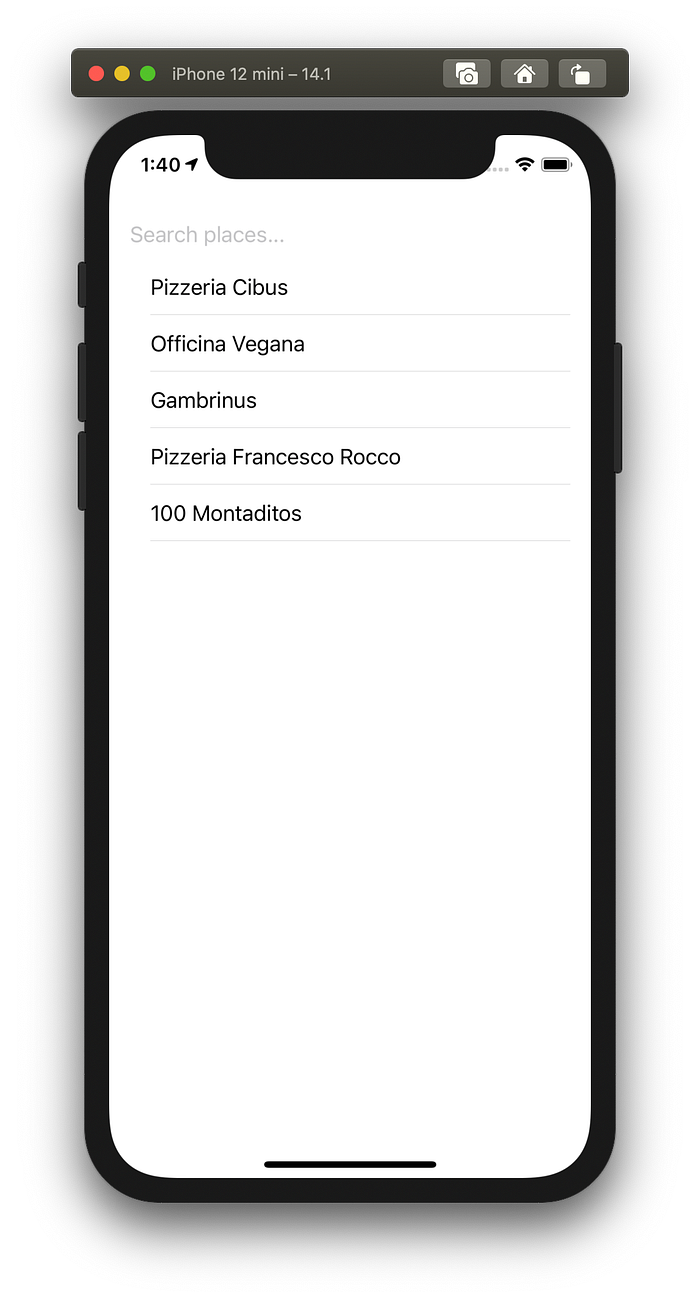
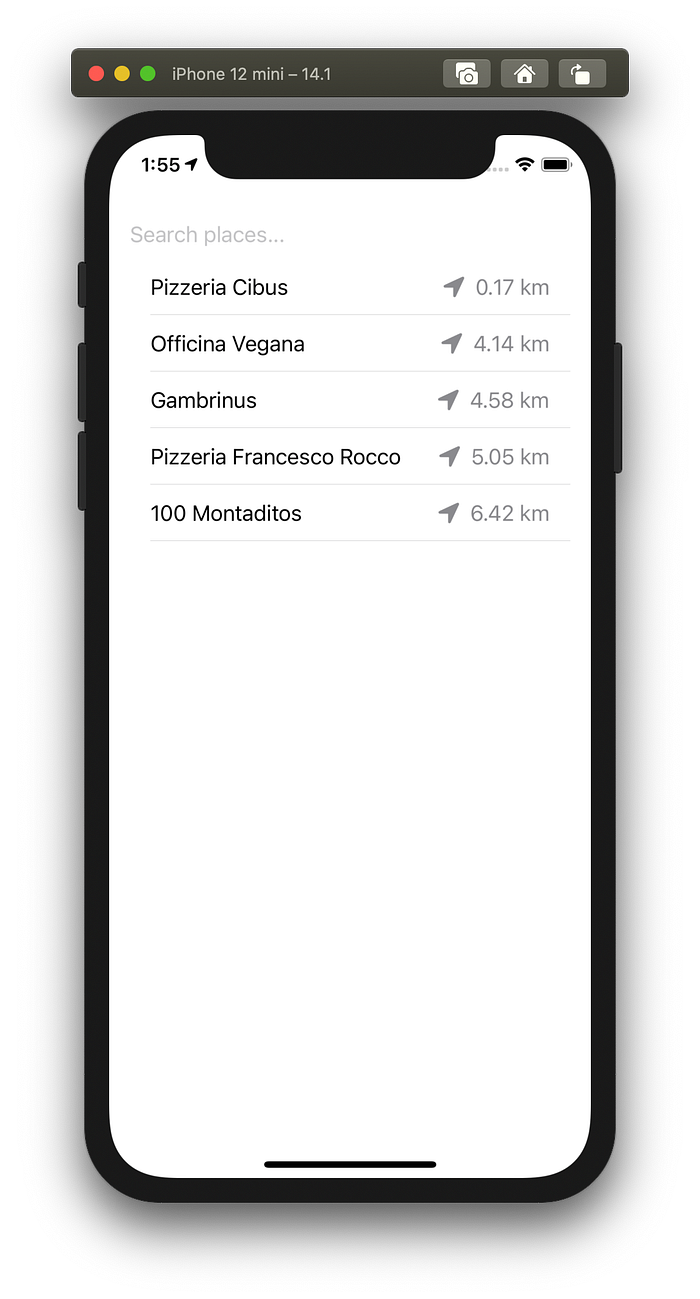
Now if you build and run the app on Simulator or real device, you will see something like that:
In the end it’ll be nice to have a fancy row with a distance to the location, so let’s create another SwiftUI view just under the ContentView.
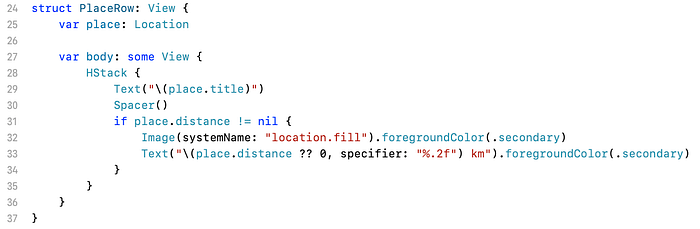
Now we can replace Text component in our list with PlaceRaw filling it with place parameter and see the result:
Now you’re done! Thanks for reading! Let’s go and have some pizza nearby 🍕!
P.S. All code is available on GitHub: https://github.com/antonoff/Places
P.P.S. I want to thank the Apple Foundation students team NAPPoletan for their amazing work and inspiring me to write this tutorial!
